Transform Flat SVGs into Stunning Layered Cake Toppers
In the world of paper crafting, there is often a distinct line between a design that looks homemade and one that looks professionally finished. The secret ingredient usually isn't a more expensive machine, but rather an understanding of dimension. Flat, single-layer designs can often feel underwhelming, lacking the depth needed to catch the eye. However, with the right techniques, you can transform a simple digital file into a tactile, multi-dimensional masterpiece. This is where the magic of layering comes in, turning basic paper cuts into intricate works of art.
The specific technique of learning How to Turn a Flat Design into a Layered Cake Topper is a game-changer for crafters and entrepreneurs alike. It involves taking a standard vector file—perhaps a simple silhouette—and deconstructing it to build height and visual interest. By strategically separating elements and adding shadow layers, you create a piece that pops off the table. This process isn't just about aesthetics; it's about mastering your cutting machine's software to unlock the full potential of your design assets.
Mastering Dimension with Design Space Tools
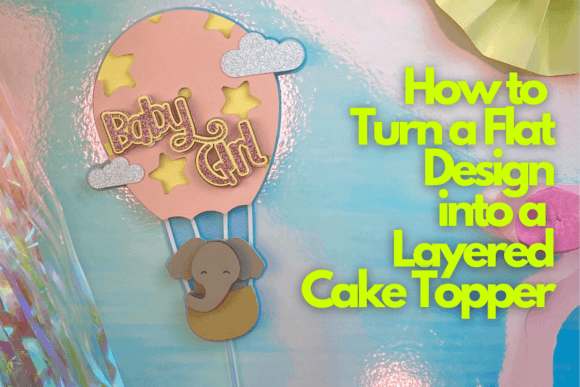
The core of this transformation lies in how you utilize the tools within your design software, such as Cricut Design Space. It is not enough to simply duplicate an image. You need to understand how to manipulate shapes to create supports and shadows. For instance, when creating a baby elephant in a hot air balloon—a popular motif for baby showers—you want the elephant to sit "inside" the basket, not just pasted on top. This requires using the "Slice" and "Weld" features to carve out negative space or create interlocking pieces.
A crucial aspect of learning How to Turn a Flat Design into a Layered Cake Topper is the use of offset and contour tools. The offset feature is vital for creating the structural base layers that give the topper its rigidity. Without a thickened base layer, a complex design will be flimsy and prone to bending. Furthermore, the contour tool allows you to hide specific cut lines within a complex image, letting you simplify a design for specific layers while keeping the overall shape intact. This level of control is what separates a basic paper cut from a premium font style creation—where every curve and line serves a specific structural or aesthetic purpose.
The Role of Typography in 3D Paper Crafts
While the imagery often takes center stage, typography plays a supporting role that cannot be ignored. Even in a project focused on graphics like a balloon or an elephant, text elements like "Welcome Baby" or a name are common additions. Choosing the right typeface is essential here. You want a font that complements the playful nature of the graphic without overwhelming it. A script font or a handwritten font often works best for these organic, whimsical themes, adding a soft, personal touch that rigid sans serif styles might miss.
When applying the layering technique to text, the principles remain the same. You might take a standard serif font and create a drop shadow effect by cutting the same text slightly offset in a darker color behind the main text. This adds legibility and depth. The versatility of this approach means it applies to web design concepts as well; the visual hierarchy created by layering text in digital mockups translates beautifully into physical paper goods. Whether you are working on packaging design or a simple cake decoration, the way you treat your typography defines the professionalism of the final product.
Practical Application and Material Selection
Once you have mastered the digital manipulation, the physical construction requires the right materials. Cardstock weight matters immensely. If the paper is too thin, the layers will warp or collapse; too thick, and your machine may struggle to cut intricate details. A medium-weight cardstock (65lb to 80lb) is typically the sweet spot for most layered projects. Additionally, consider the finish. Metallic or glitter cardstock can be used for accent layers—like the rim of the hot air balloon basket—to add a touch of luxury without complicating the design structure.
Assembly is the final frontier. Knowing How to Turn a Flat Design into a Layered Cake Topper successfully involves using the right adhesives. Foam adhesive squares or dots are industry standards for this work. Unlike liquid glue, foam tape creates an immediate, consistent gap between layers, guaranteeing that shadow effect. This technique is fundamental in logo design mockups and editorial design elements where "lift" is desired. For commercial creators selling on platforms like Etsy, this attention to material quality and assembly technique directly influences brand perception and customer satisfaction.
From Hobbyist Craft to Commercial Asset
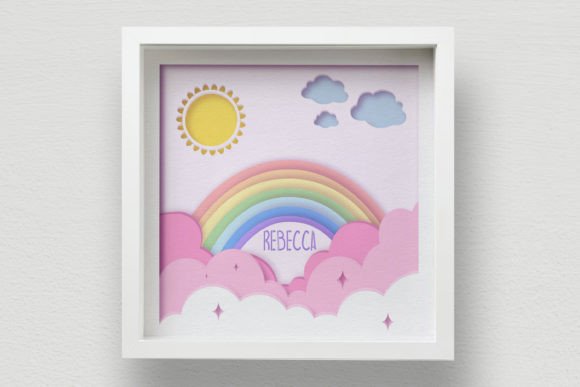
Understanding how to deconstruct and rebuild designs opens up a world of opportunity beyond personal use. For small business owners and content creators, these skills are transferable. The same logic used to layer a cake topper applies to creating shadow boxes, pop-up cards, and intricate signage. It builds a foundation of spatial awareness that is valuable in modern typography and social media graphics, where depth and dimension are trending visual styles.
Furthermore, this process encourages a deeper engagement with your tools. Instead of buying pre-made files for every project, you gain the confidence to modify existing design assets or create your own from scratch. This autonomy is vital for anyone in the creative industry, whether you are a marketer looking for unique collateral or a hobbyist aiming to refine your craft. By mastering the transition from flat to layered, you are not just making a cake topper; you are expanding your creative toolkit and enhancing your ability to produce high-quality, engaging visual content.